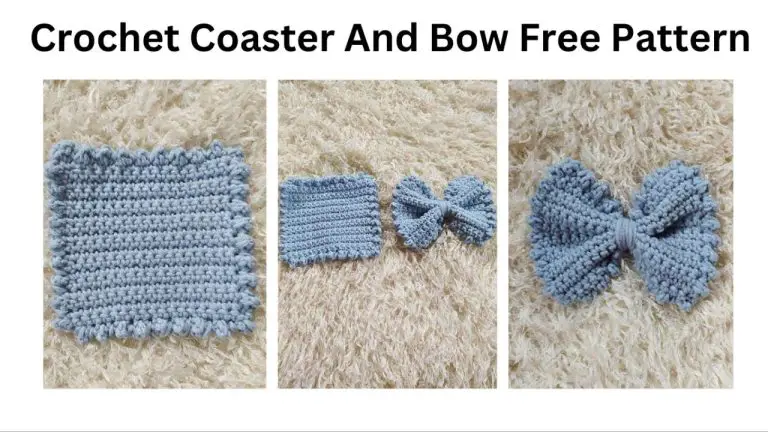
How about making a crochet coaster and a crochet bow from just one pattern. This easy crochet coaster pattern can be used for co-workers or house warming gifts the crochet bow can be used as a decorative embellishment for a dress or for a crochet bow tie. It is worked in rows and then a…
Crochet Baby Ruffle Skirt
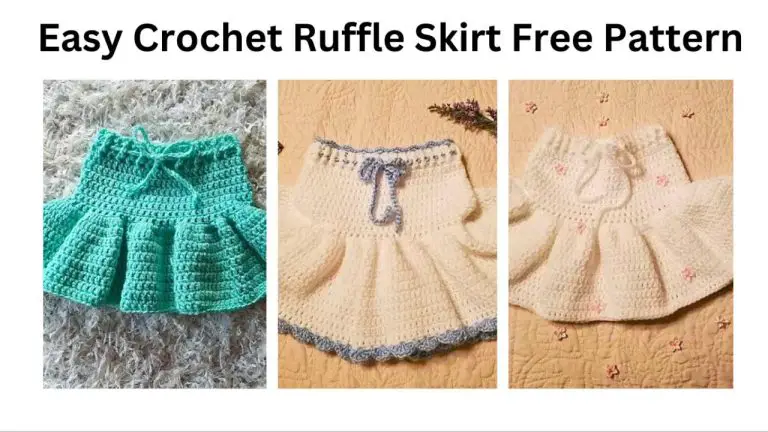
This post may contain affiliate links. This means that if you make a purchase from those links I receive a commission at no additional cost to you. Thank you for continued support! This simple crochet baby ruffle skirt is super cute and it’s so easy to make. vyou could crochet it while watching Netflix.. The…
Pleated Crochet Baby Dress | Free Pattern
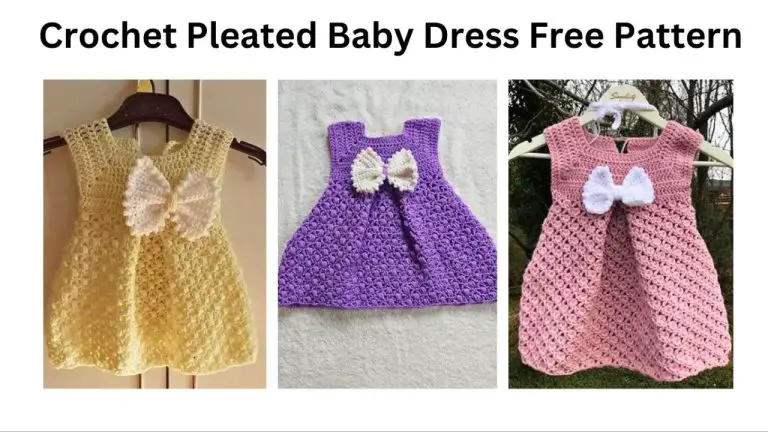
This post may contain affiliate links. This means that if you make a purchase from those links I receive a commission at no additional cost to you. Thank you for continued support! What I love about the crochet pleated baby dress is the pleat detailing. It is so easy to make and it’s beginner friendly…
Crochet Alpine Baby Booties
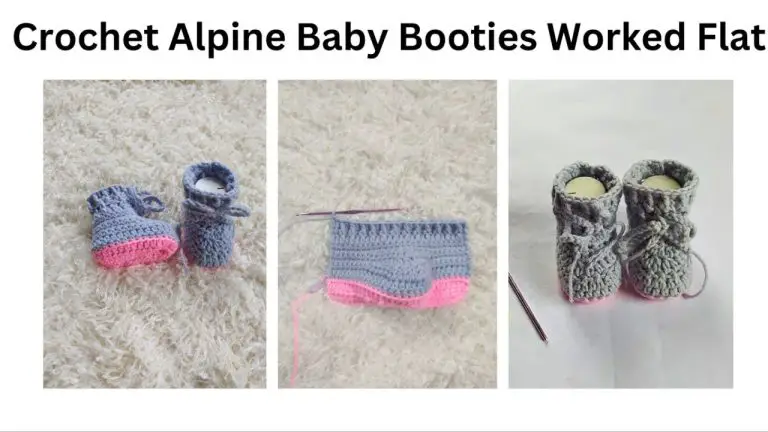
This post may contain affiliate links. This means that if you make a purchase from those links I receive a commission at no additional cost to you. Thank you for continued support! This adorable crochet baby booties worked flat design features the alpine stitch, it perfectly compliments the crochet alpine baby bonnet. This alpine stitch…
Crochet Cable Baby Booties
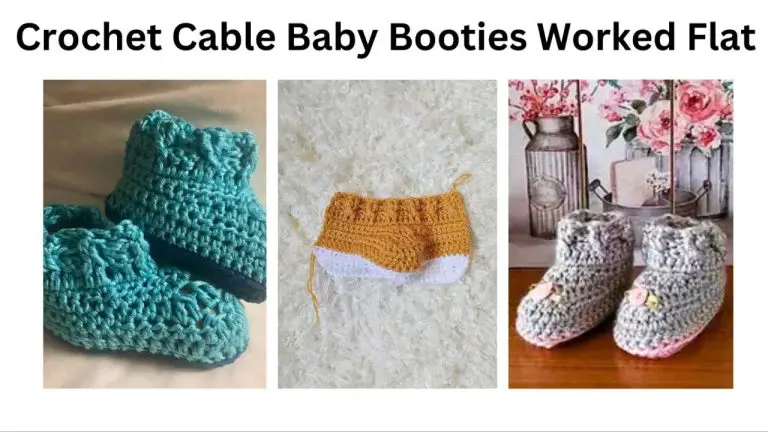
This post may contain affiliate links. This means that if you make a purchase from those links I receive a commission at no additional cost to you. Thank you for continued support! Simple crochet cable stitch was used as decorative edging for the ribbing of the crochet cable baby booties worked flat. This crochet baby…
Crochet Baby Booties | Free Pattern
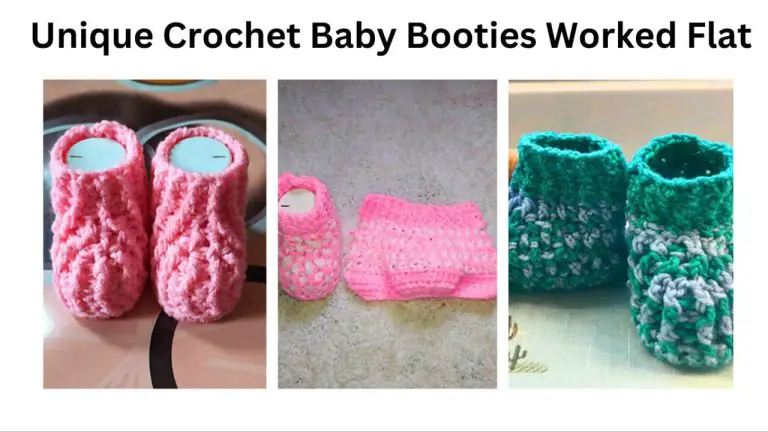
This post may contain affiliate links. This means that if you make a purchase from those links I receive a commission at no additional cost to you. Thank you for continued support! The unique crochet baby booties design pattern has a unique post stitch design on the upper part of the booties that gives different…
Pleated Crochet Skort | Free Pattern
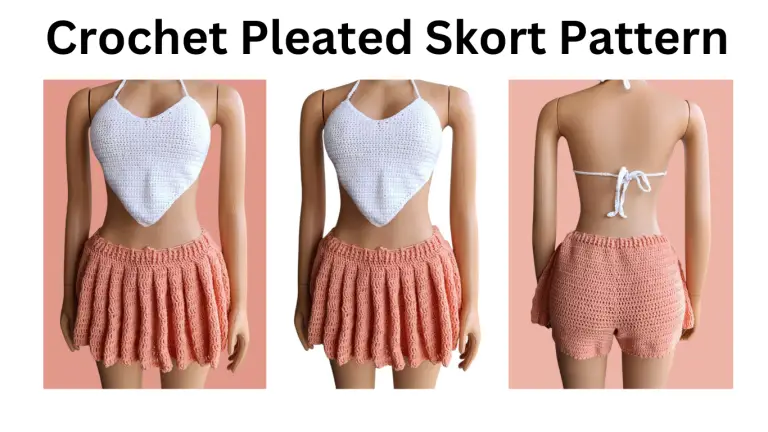
I found that a lot of crocheters loved the Crochet High Waist Skirt and the Crochet Tennis Skirt, I decided to design another wearable with pleats. The crochet pleated skort is a short with a pleated panel over it making it look like a crochet pleated skirt from the front. It is a fairly easy…
Easy Crochet Baby Sandals | Free Pattern
This post may contain affiliate links. This means that if you make a purchase from those links I receive a commission at no additional cost to you. Thank you for continued support! These crochet gladiator sandals will turn your baby into the cutest little warrior! The flat-sole design makes them beginner-friendly, while the crisscross straps…
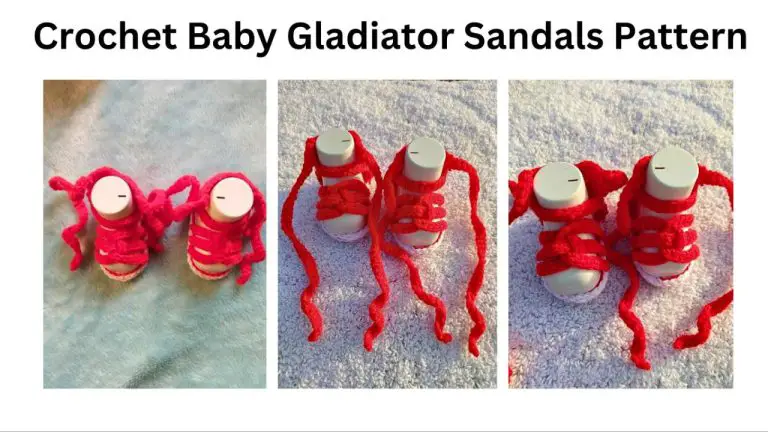
Crochet Baby Gladiator Sandals | Free Pattern

This post may contain affiliate links. This means that if you make a purchase from those links I receive a commission at no additional cost to you. Thank you for continued support! Gladiator Sandals always looks great on babies’ feet and this crochet gladiator sandals is no exception. The sole is worked flat, so you…
Crochet Baby Puff Girl Shoes | Free Pattern
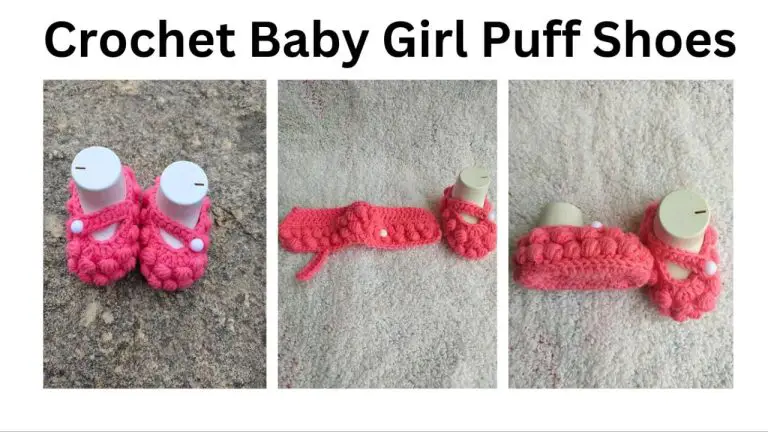
This post may contain affiliate links. This means that if you make a purchase from those links I receive a commission at no additional cost to you. Thank you for continued support! The Crochet Puff Baby Girl Shoes has to be one of my uniquely designed crochet baby girl shoes. This crochet baby girl shoes…